How to install an VCF offline depot based on apache and PhotonOS
How to install an offline-depot based on PhotonOS 5 minimal.
Prerequisites
Download PhotonOS 5 minimal OVA from:
OVA:
https://packages.vmware.com/photon/5.0/GA/ova/
or ISO:
Download VMware VCF Download Tool (Latest Version)
Deploy PhotonOS VM
Using OVA:
- Goto vSphere Client
- Right click your Cluster where you want to deploy your VM
- Select “Deploy OVF Template”
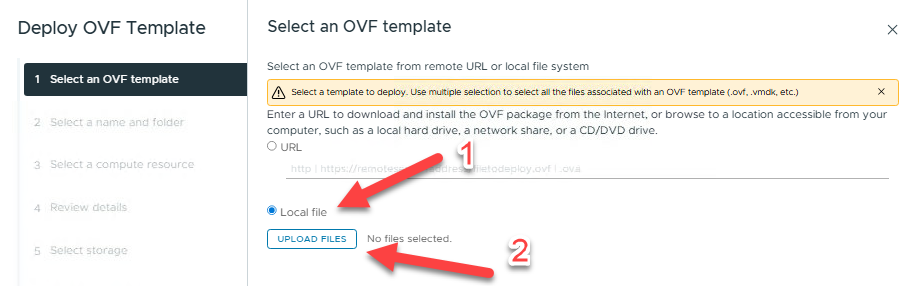
Select “Local file”
Select “UPLOAD FILES” and browse to your PhotonOS 5 minimal OVA
e.g.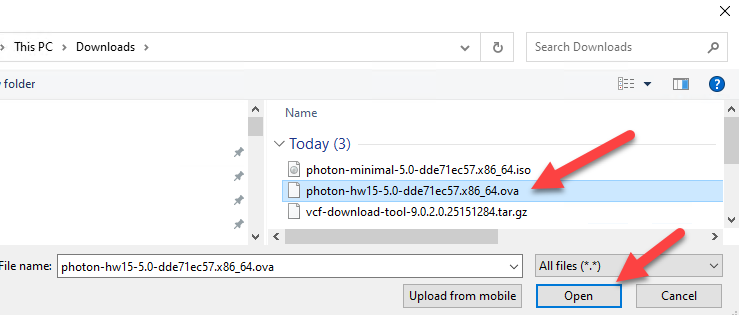
Select “Open” to continue
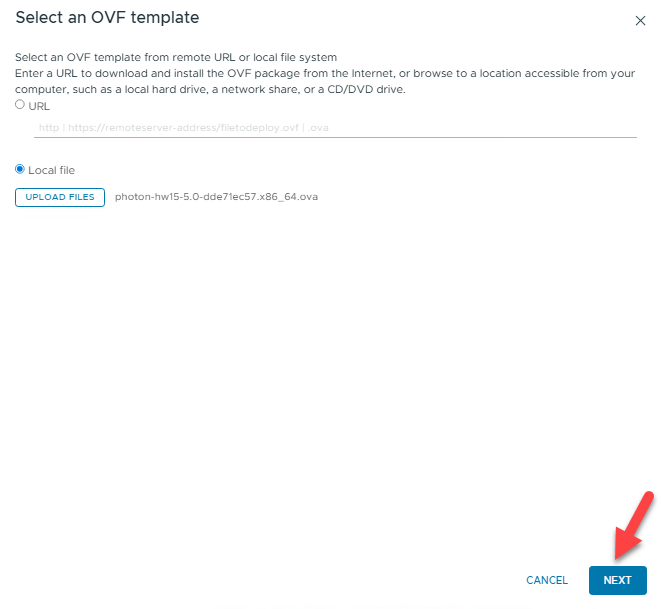
Select “NEXT” to specify a VM name and location for the VM
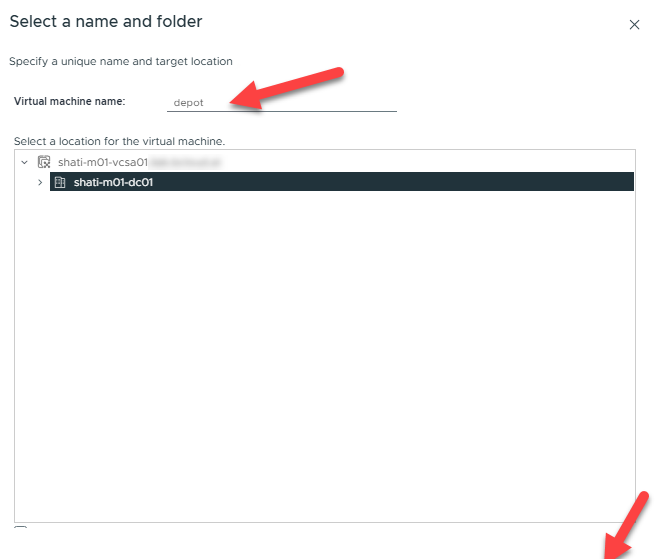
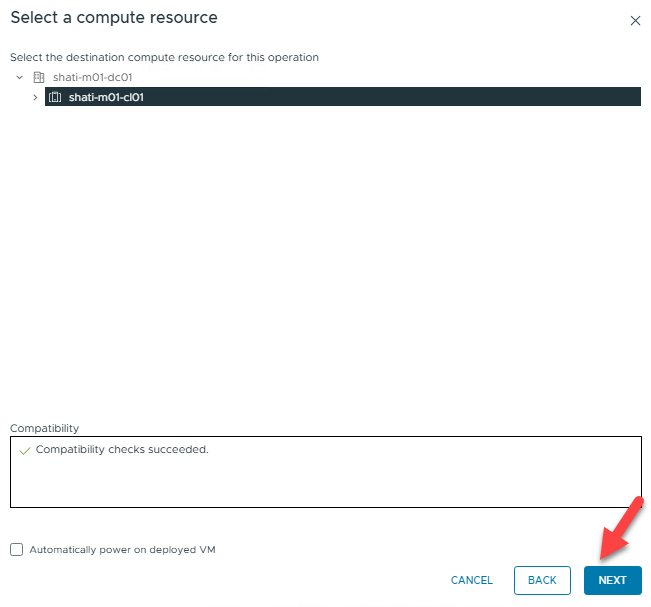
Select “NEXT” to choose your compute resource
Select „NEXT“ to review details
Click “Ignore” on the certificate warning and then click “NEXT” to continue

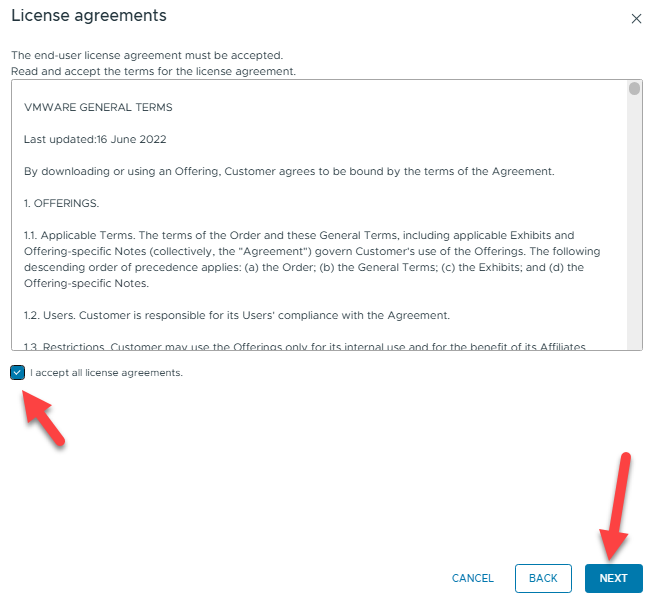
Accept the License agreements and continue with “NEXT”
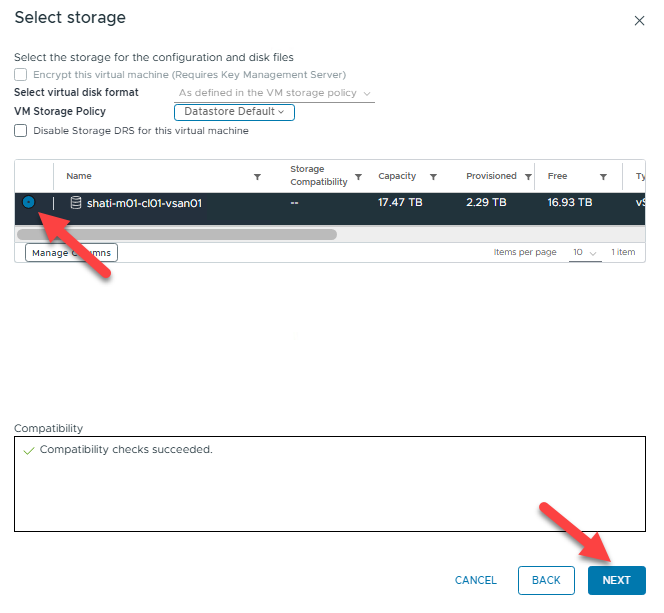
Choose a storage to deploy on – in my case, it is the one and only vSAN Datastore. Proceed by clicking “NEXT”
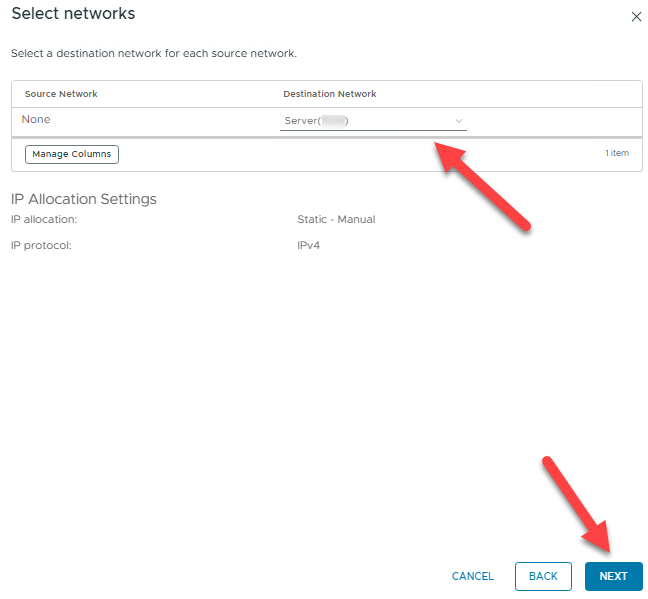
Specify your Network (Port Group) and click “NEXT”
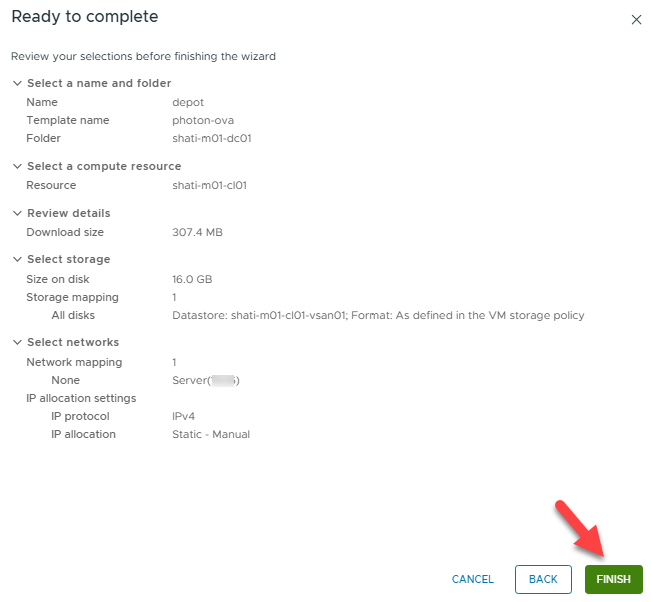
Review the summary and click “FINISH”
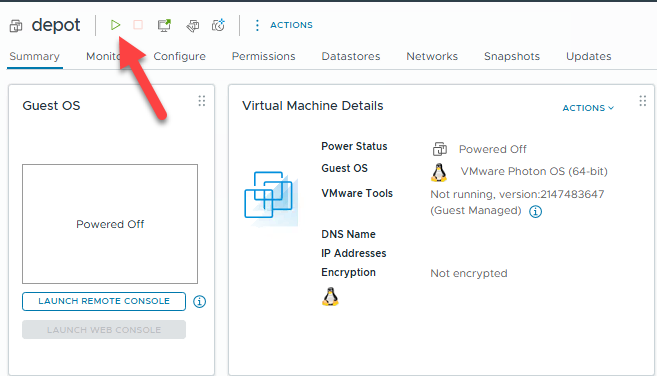
- Power ON your VM
- Connect to your VM via the web console and login as user “root” with password “changeme”

- You have to change the root password immediately!
Set a static IP Address
Before you set a static IP address, obtain the name of your Ethernet link by running the following command:
networkctl

To create a network configuration file that systemd-networkd uses to establish a static IP address for the eth0 network interface, execute the following command
cat \> /etc/systemd/network/10-static-en.network \<\< "EOF"

\[Match\]

Name=eth0

\[Network\]

Address=192.168.0.2/24

Gateway=192.168.0.1

DNS=192.168.0.99 192.168.0.100

EOF
Change the new file’s mode bits by running the chmod command:
chmod 644 10-static-en.network
Apply the configuration by running the following command:
systemctl restart systemd-networkd
Change Hostname
Replace “depot.yourdomain.com” with the FQDN of your VM
Run
hostnamectl set-hostname depot.yourdomain.com

systemctl restart systemd-networkd

systemctl restart systemd-resolved
Update your System:
Run to check for Updates:
tdnf check-update
Run update:
tdnf update
Optional:
Install Network Config Manager
tdnf install network-config-manager
Add a disk for storing the depot binaries
In vCenter, edit the properties of your depot VM and add a secondary disc.
I am using a 1 TB thin provisioned disk because I would store different versions and Upgrades on it.

- Install FS-Utility parted:
tdnf install parted
- Scan for New Disk: Log in to Photon OS via SSH/Console and run:
fdisk \-l
Note: The new disk will likely be /dev/sdb.
- Partition the New Disk: Use parted to create a partition table:
parted /dev/sdb mklabel gpt

parted /dev/sdb mkpart primary ext4 0% 100%
- Format the Partition: Create an ext4 filesystem:
mkfs \-t ext4 /dev/sdb1
Mount the Disk:
- Create a mount point:
mkdir /depot/
- Mount the disk:
mount /dev/sdb1 /depot
Configure permanent mount (/etc/fstab):
- Identify the partition UUID:
blkid \-s PARTUUID \-o value /dev/sdb1
- Edit /etc/fstab:
vi /etc/fstab
- Add this line:
PARTUUID=\<your-partuuid-here\> /depot ext4 defaults 0 2
- Verify:
mount |grep \-i /depot
Install WEB Server
Run for installing the httpd binaries:
tdnf install httpd tar jq –assumeyes
Create Certificate for WEB Server
Create a working directory and build the ssl config file, replace the yellow parts with your values:
mkdir /root/http-certificates

openssl genpkey \-out /root/http-certificates/server.key \-algorithm RSA \-pkeyopt rsa\_keygen\_bits:2048

cat \<\< ‘EOF’ \> /root/http-certificates/ssl.cfg

\[req\]

distinguished\_name \= req\_distinguished\_name

req\_extensions \= req\_ext

prompt \= no

\[req\_distinguished\_name\]

C \= \<your country code\>

ST \= \<your state\>

L \= \<your locality\>

O \= \<your organization\>

OU \= \<your organizational unit\>

CN \=depot.yourdomain.com

\[req\_ext\]

subjectAltName \= @alt\_names

\[alt\_names\]

IP.1 \= 172.16.10.11

DNS.1 \= depot.yourdomain.com

EOF
Let´s create a .csr using the .key and ssl template:
openssl req \-new \-key server.key \-out server.csr \-config ssl.cfg
Now you should have 3 files

Submit the base64 .csr to the CA of your choice and the return file must be a full chained base64 formatted .crt file.
When you have the new certificate, move the .key and .crt file to a secure location where the apache web server can access it.
mv server.key server.crt /etc/httpd/conf/
Set the correct permissions:
chmod 0400 /etc/httpd/conf/server.key /etc/httpd/conf/server.crt

chown root:root /etc/httpd/conf/server.key /etc/httpd/conf/server.crt
Of course, the Apache configuration must also be adjusted accordingly, replace the yellow parts with your values.
sed \-i 's|\#LoadModule ssl\_module|LoadModule ssl\_module|' /etc/httpd/conf/httpd.conf

sed \-i 's|\#LoadModule socache\_shmcb\_module|LoadModule socache\_shmcb\_module|' /etc/httpd/conf/httpd.conf

sed \-i 's|\#Include conf/extra/httpd-ssl.conf|Include conf/extra/httpd-ssl.conf|' /etc/httpd/conf/httpd.conf

sed \-i 's|DocumentRoot "/etc/httpd/html"|DocumentRoot "/depot"|' /etc/httpd/conf/extra/httpd-ssl.conf

sed \-i 's|ServerAdmin you@example.com|ServerAdmin your-email-address@your-domain|' /etc/httpd/conf/extra/httpd-ssl.conf

sed \-i 's|ServerName www.example.com:443|ServerName depot.yourdomain.com:443|' /etc/httpd/conf/extra/httpd-ssl.conf
Edit the file /etc/httpd/conf/extra/httpd-ssl.conf
vi /etc/httpd/conf/extra/httpd-ssl.conf
On the very bottom, insert these lines directly before </VirtualHost>
\<Directory /depot/PROD/COMP\>

        AuthType Basic

        AuthName "Basic Authentication"

        AuthUserFile /etc/httpd/conf/.htpasswd

        require valid-user

\</Directory\>

\<Directory /depot/PROD/metadata\>

        AuthType Basic

    AuthName "Basic Authentication"

    AuthUserFile /etc/httpd/conf/.htpasswd

    require valid-user

\</Directory\>

\<Directory "/depot/PROD/COMP/Compatibility/VxrailCompatibilityData.json"\>

        \# VxRail VVS Cookie Validation (VCF 5.0)

        \<If "%{HTTP:Cookie} \== 'ngssosession=ngsso-token' "\>

        Require all granted

        \</If\>

\</Directory\>

\<Directory /depot/PROD/vsan/hcl\>

        Require all granted

\</Directory\>

        \# Those Alias statements are needed only for VCF 5.1.0.0.

        Alias /products/v1/bundles/lastupdatedtime /depot/PROD/vsan/hcl/lastupdatedtime.json

        Alias /products/v1/bundles/all /depot/PROD/vsan/hcl/all.json

        \# Needed only if UMDS downloads are presented

\<Directory /depot/umds-patch-store\>

        Require all granted

\</Directory\>
Create the Basic Authentication user and password
Next, we need to create the Basic Authentication user and password that will be used. replace username with whatever you want the user to be called
htpasswd \-c /etc/httpd/conf/.htpasswd depotuser

chown apache /etc/httpd/conf/.htpasswd

chmod 0400 /etc/httpd/conf/.htpasswd
Test the configuration
httpd \-t
Service enablement and service start
systemctl start httpd

systemctl enable httpd
Update iptables firewall
Edit the file /etc/systemd/scripts/ip4save. Add these 2 entries directly before the “COMMIT” entry.
\-A INPUT \-p tcp \-m tcp \--dport 443 \-j ACCEPT

\-A INPUT \-p tcp \-m tcp \--dport 22 \-j ACCEPT
To apply these changes, the service must be restarted.
systemctl restart iptables
Optional cleanup:
Cleanup these files/folders:
rm \-rf /root/http-certificates

rm \-f /depot/index.html
VCF Installer Certificate
If you are using a self-signed TLS certificate or custom root CA, we need to perform an additional step by importing the root CA into the VCF Installer, so that a trust is established or you will not be able to connect to your offline depot.
Copy the root CA certificate (e.g. rootCA.pem) onto the VCF Installer filesystem and then run the following command which will add it to the trust store and then restart the VCF Installer services for the certificate to be trusted.
STOREPASS=$(cat /etc/vmware/vcf/commonsvcs/trusted\_certificates.key)

DEPOT\_ALIAS="vcf\_offline\_depot"

DEPOT\_CERT="/tmp/rootCA.pem"

keytool \-importcert \-alias $DEPOT\_ALIAS \-file $DEPOT\_CERT \-keystore /etc/vmware/vcf/commonsvcs/trusted\_certificates.store \-storepass $STOREPASS \-noprompt

echo 'Y' | /opt/vmware/vcf/operationsmanager/scripts/cli/sddcmanager\_restart\_services.sh
VMware Download Tool
- Copy the tar.gz file to your VM
- Create a target directory for the vcf-download-tool
mkdir \-p /opt/vmware-download-tool
- Untar the binaries
tar \-zxvf vcf-download-tool-9.0.2.0.25151284.tar.gz \-C /opt/vmware-download-tool/
Create a token file with your vmware download token, replace the yellow part with your tocken.
Echo \<token\> \>\> /opt/vmware-download-tool/token
Initiate Download:
Goto /opt/vmware-download-tool/bin
cd /opt/vmware-download-tool/bin
This command downloads the install packages from the source:
./vcf-download-tool binaries download \--depot-download-token-file=/opt/vmware-download-tool/token \-d /depot \--vcf-version=9.0.2 \--automated-install \--type=INSTALL
Or, if you just want to download the upgrade packages
./vcf-download-tool binaries download \--depot-download-token-file=/opt/vmware-download-tool/token \-d /depot \--vcf-version=9.0.2 \--type UPGRADE
For a complete download tool description, please visit:
Download ESX Upgrade Binaries
SDDC Manager is looking for ESX patches for a folder named umds-patch-store and is the default directory for ESX patching.
UMDS is integrated within vcf-download-tool but needs to be installed and configured.
Install Perl:
tdnf install perl
Install UMDS:
Goto /opt/vmware-download-tool/bin
cd /opt/vmware-download-tool/bin

./vcf-download-tool umds install
Configure UMDS
mkdir /depot/umds-patch-store

./vcf-download-tool umds run \-S \--add-entitlement-token \<your token\>

./vcf-download-tool umds run \-S \-P /depot/umds-patch-store

./vcf-download-tool umds run \-S \-e embeddedEsx-9.0-INTL

./vcf-download-tool umds run \-S \-e embeddedEsx-8.0-INTL

./vcf-download-tool umds run \-S \-d embeddedEsx-7.0-INTL

./vcf-download-tool umds run \-S \-d esxio-8.0-INTL

./vcf-download-tool umds run \-S \-d esxio-9.0-INTL

./vcf-download-tool umds run vmware-umds \-D
For a complete list of options, please visit:
Set permissions on /depot
chown apache \-R /depot

find /depot \-type d \-exec chmod 0500 {} \\;

find /depot \-type f \-exec chmod 0400 {} \\;
NOTE: You must reset the permissions every time you download the portfolio
Restart apache
systemctl restart https
Next Step: Configure your SDDC Manager, Installer or another component to use this offline Depot.